
Start mining & hire your first miner
In the v0.4.3.5 tutorial, click the elevator to begin, left-click ore until an upgrade is available, unlock Miners Hiring Sign, then place it through the hammer/build menu. Unlocking the sign and placing it are two separate steps.
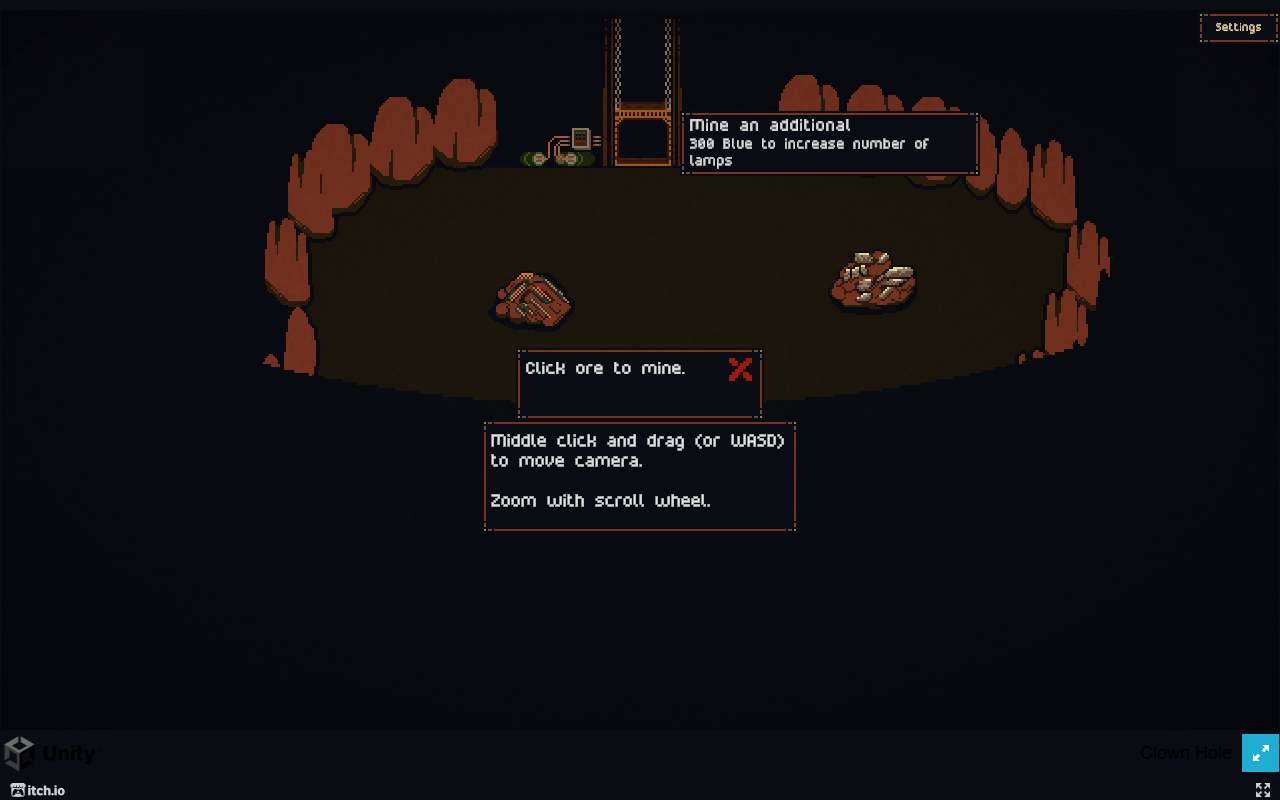
From the tutorial menu to your first miner
- Select Tutorial and click the elevator. The opening prompt points to the elevator above the play area. Clicking it reveals the starting cavern.
- Left-click an ore node. The resource counter increases as you mine. Continue until the tutorial points to an available upgrade in the tree icon at the upper right.
- Open the upgrade tree and inspect Miners Hiring Sign. The detail panel names the building and shows its cost. Click the affordable node to unlock it.
- Close the tree and open the hammer menu. Select Miners Hiring Sign from the building list. A floating sign is a placement preview, not a completed building.
- Place it on clear, lit ground. If the preview says “too close to elevator” or “not enough space,” move it to another open spot. A successful placement leaves a sign in the cavern and increases the miner capacity indicator. Allow the elevator to bring the miner down.
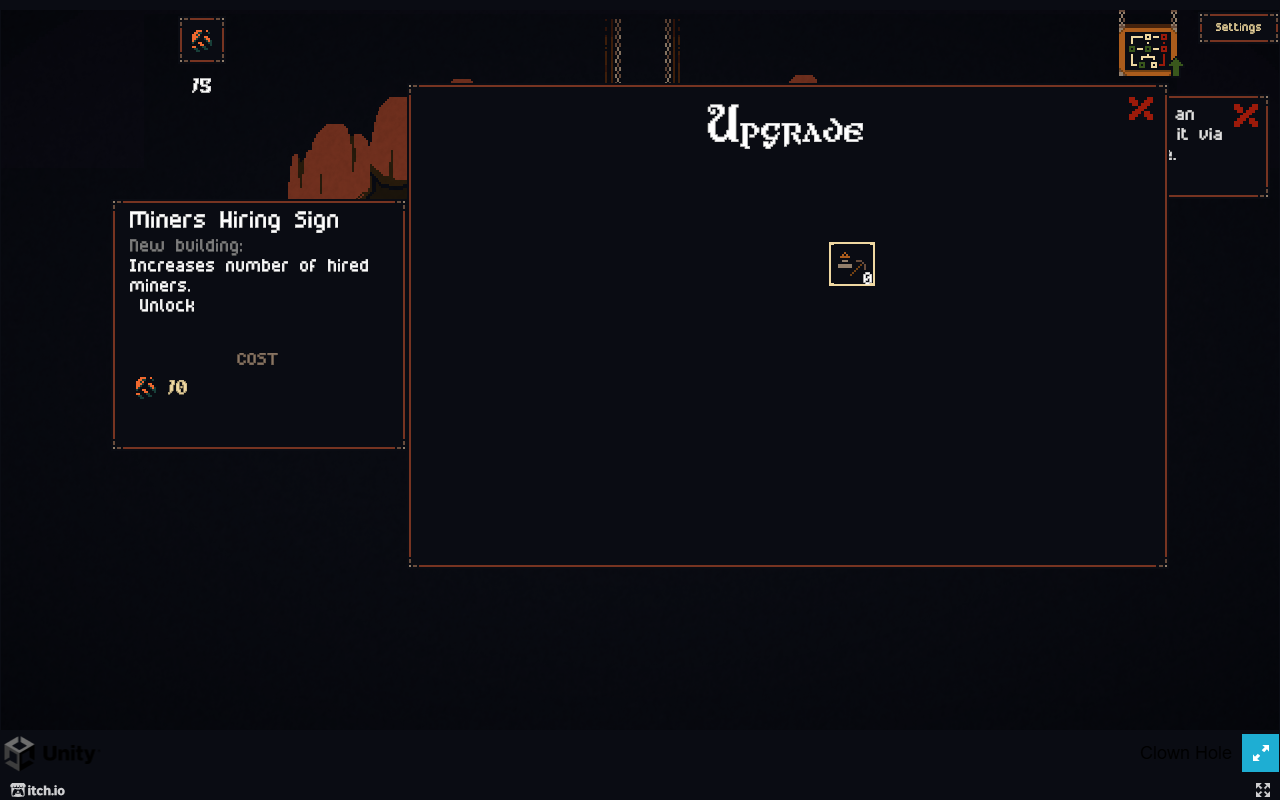
Three early stalls and what to check
- No upgrade prompt yet: keep mining a visible ore node and watch the resource counter. Do not look for a separate surface shop to complete this tutorial step.
- Unlocked the sign, but no miner: check whether you have actually placed the building from the hammer menu. Merely purchasing the unlock is not the placement action.
- A miner exists but ignores your intended ore: right-click that node to mark it, then check for the yellow marker. The tutorial says workers also find work automatically. For a persistent stall, use the idle-worker checks.
Move around before deciding where to expand
The tutorial labels middle-mouse drag and WASD for camera movement, with the scroll wheel for zoom. Click inside the game first if the browser has focus. See controls and camera help for those input checks.
After the opening steps, use lamps and elevator capacity to understand expansion. The official game description identifies fighter hiring signs as the source of combat help; a miner sign does not serve that role.
Scope of this walkthrough
The elevator, manual mining, upgrade unlock, build-menu placement and right-click marker steps above were checked in the official v0.4.3.5 tutorial on September 17, 2026. This is a tutorial opening, not an optimal route through the full level or a timed economy plan. Other versions and existing saves may start in a different state.